Gluten Free Crepes
Get Ready to Flip for These Gluten Free Crepes!
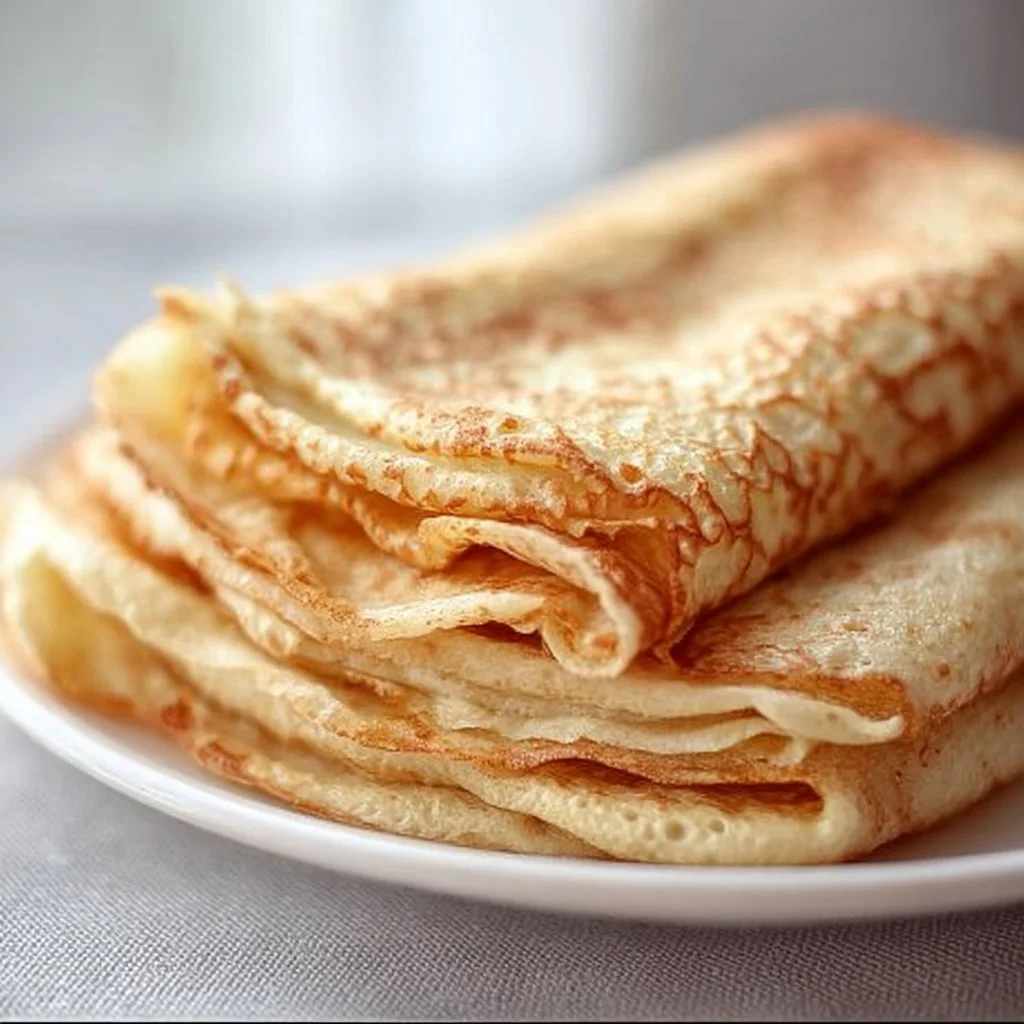
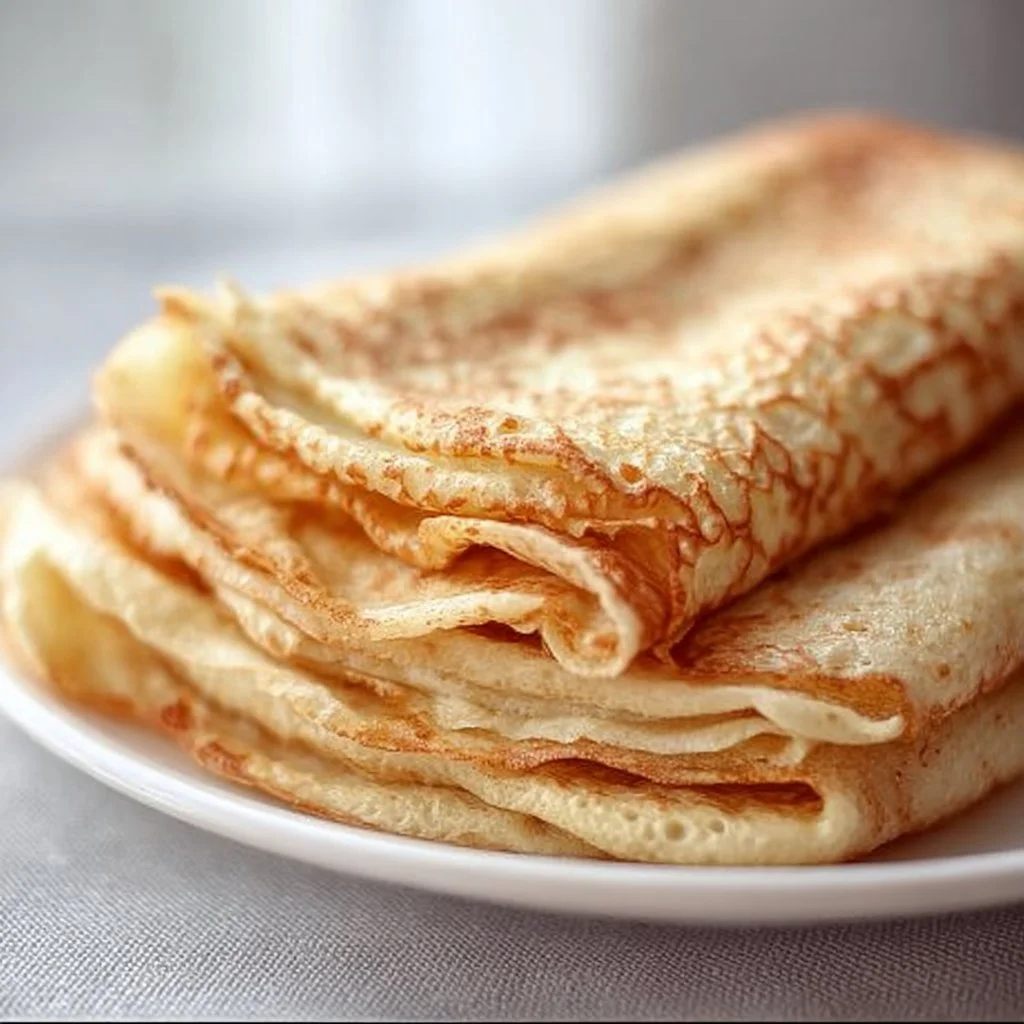
Imagine a delicate crepe, warm and ready to wrap around your favorite fillings, all while being gluten-free! These crepes aren’t just a fancy brunch idea; they’re simple to whip up and versatile enough to satisfy any craving. Plus, they can be made in just one pan—yes, please!
Why Make This Recipe
Why should you jump into the crepe-making game? Well, for starters, clean-up is a breeze. You’ll only need one bowl and your trusty frying pan – no battles with pots and pans here! They are also super family-friendly, meaning everyone can get involved in flipping or filling their own. And if you have kids, I bet they will want to make these for breakfast every weekend!
Ingredients
You don’t need fancy stuff — just these basics!
- 1 cup Bob’s Red Mill gluten free 1 to 1 flour blend (or your preferred gluten free blend)
- ⅛ tsp salt
- 3 eggs
- 2 cups milk
- 1 tbsp oil or melted butter
- 1 tbsp sugar
- 1 tsp vanilla extract
Directions
Ready to make the magic happen? Here’s how:
- Combine the gluten free flour, salt, and eggs in a mixing bowl.
- Slowly add in the milk while whisking to ensure no lumps form.
- If you’re feeling sweet, add the sugar and vanilla, then mix in.
- Let the batter rest for 30 minutes (or overnight if you can wait).
- Heat a 10" pan or crepe pan over a medium-high burner.
- Once the pan is hot, scoop out a ¼ cup of batter and pour it into the center.
- Tilt the pan in a half circle to spread out the batter.
- Cook for 1-3 minutes, until the top is set and the bottom is golden brown.
- Carefully flip the crepe and cook for another 10-30 seconds until browned on the other side.
- Remove the crepe from the pan and repeat until all the batter is used.
- Serve warm with your choice of toppings and fillings.
- Any leftovers can be refrigerated for up to a week or frozen for up to 3 months.

How to Make Gluten Free Crepes (Overview)
Making these gluten-free crepes is as easy as 1-2-3! Start by mixing your dry ingredients with the eggs. Then add the milk slowly so you get a silky, lump-free batter. Give it a little break to chill out (literally) while it rests, and heat up your pan. Remember not to rush flipping them; patience yields the best brown edges. Don’t forget, keep that heat at medium-high—too hot, and you might just end up with scrambled crepes! 😄
How to Serve Gluten Free Crepes
When it comes to serving, the sky’s the limit! You can fill these crepes with sweet delights like fresh fruits, Nutella, or a drizzle of maple syrup. If you’re craving something savory, think cheese, ham, or even a fresh herb spread. Imagine cutting into a warm crepe filled with vibrant colors and enticing aromas! Your taste buds won’t know what hit them!
How to Store Gluten Free Crepes
Want to save some for later? Store your crepes in the fridge for up to a week or pop them in the freezer for up to 3 months. To reheat, just throw them in a hot pan for a minute on each side. For best results, warm them gently to keep that perfect texture.
Tips to Make Gluten Free Crepes
- Use room temperature ingredients for a better batter – it really helps with the consistency.
- If your batter is too thick, don’t hesitate to add a splash more milk.
- Avoid sticking by making sure your pan is sufficiently heated; a little oil or butter can also help.
- If you have time, let that batter rest longer for the best texture—overnight is even better!
- Got leftovers? Spread a little peanut butter and banana inside them for a quick snack later.
Variation
Want to switch things up? Swap out with a dairy-free milk for a vegan approach or use different extracts (like almond) for unique flavors. Feeling adventurous? Throw in some cocoa powder for chocolatey goodness or cinnamon for a warm spice twist!
FAQs
Can I make the batter ahead of time?
Absolutely! You can refrigerate the batter overnight. Just give it a quick whisk before using.
What can I use instead of eggs?
You can replace eggs with flaxseed or chia seed “eggs” (1 tbsp mixed with 2.5 tbsp water per egg), although the texture might vary slightly.
How do I freeze crepes?
Layer them with parchment paper in between and put them in a freezer bag. This way, they won’t stick together!
📌 Pin this recipe for your next cozy dinner night!
Gluten Free Crepes
Ingredients
Method
- Combine the gluten free flour, salt, and eggs in a mixing bowl.
- Slowly add in the milk while whisking to ensure no lumps form.
- If you're feeling sweet, add the sugar and vanilla, then mix in.
- Let the batter rest for 30 minutes (or overnight if you can wait).
- Heat a 10" pan or crepe pan over a medium-high burner.
- Once the pan is hot, scoop out a ¼ cup of batter and pour it into the center.
- Tilt the pan in a half circle to spread out the batter.
- Cook for 1-3 minutes, until the top is set and the bottom is golden brown.
- Carefully flip the crepe and cook for another 10-30 seconds until browned on the other side.
- Remove the crepe from the pan and repeat until all the batter is used.
- Serve warm with your choice of toppings and fillings.
- Any leftovers can be refrigerated for up to a week or frozen for up to 3 months.