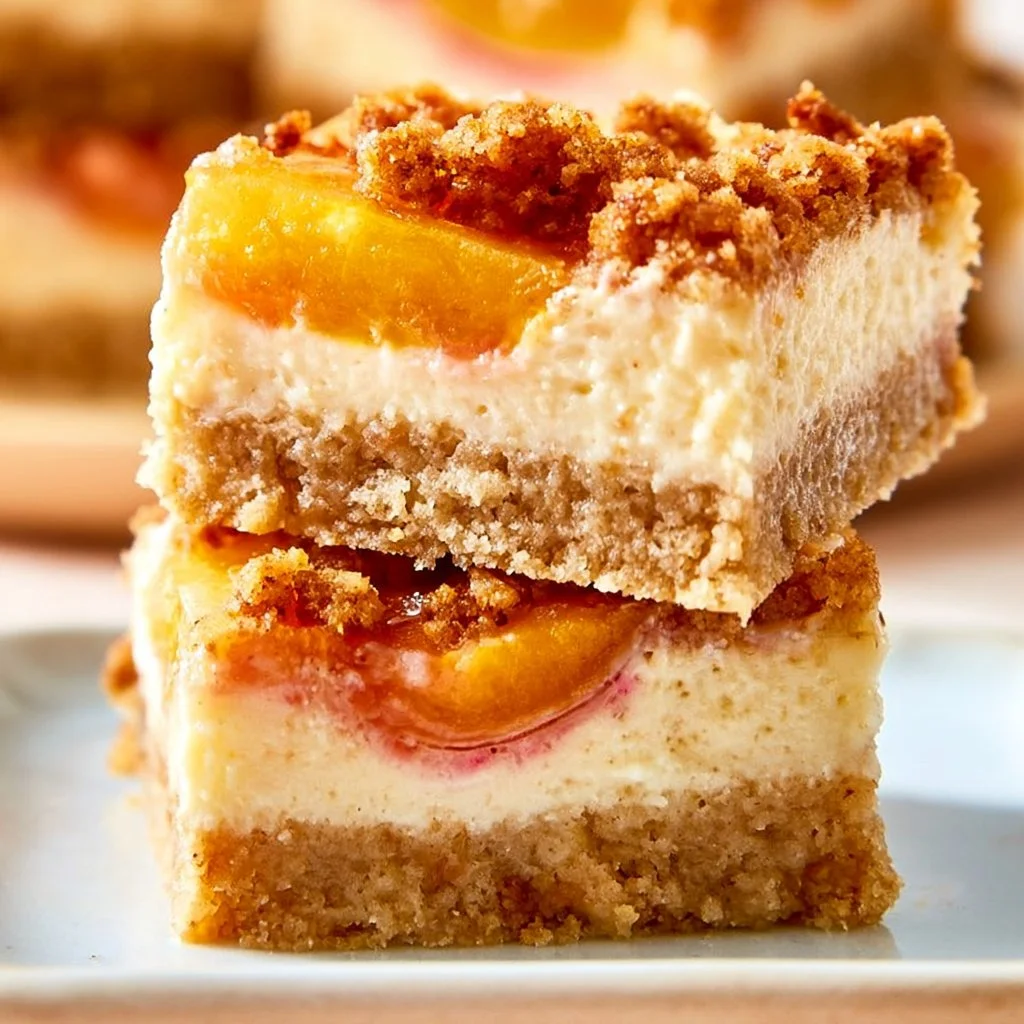
Peach Cheesecake Bars
Satisfy Your Sweet Tooth with Peach Cheesecake Bars
If you’re daydreaming about a sweet treat that’s both creamy and fruity, let me introduce you to Peach Cheesecake Bars! These heavenly dessert squares deliver a burst of sunshine and flavor, all packed into an easy-to-make treat perfect for any occasion. The rich cream cheese mingles beautifully with juicy peaches, creating a taste experience that’s hard to resist. Trust me, your taste buds will thank you!
Why Make This Recipe
Here’s why you’ll want to dive right into making these Peach Cheesecake Bars:
- Easy Cleanup: One pan, less mess. Need I say more? Cleaning up has never been sweeter.
- Family-Friendly: Everyone—kids, adults, even the picky eaters—will devour these bars. Who doesn’t love cheesecake?
- Quick to Whip Up: You can have these dreamy bars chilling in the fridge in no time. Perfect for unexpected guests or your sudden sweet cravings!
Ingredients
You don’t need fancy stuff — just these basics!
- 1 1/2 cups graham cracker crumbs
- 1/3 cup sugar
- 1/2 cup butter, melted
- 16 oz cream cheese, softened
- 1 cup sugar
- 1 teaspoon vanilla extract
- 3 large eggs
- 2 cups diced peaches (fresh or canned)
- 1/2 cup all-purpose flour
- 1 teaspoon cinnamon
- 1/4 cup brown sugar
- 1/4 cup butter, softened
Directions
Follow these simple steps to create your Peach Cheesecake Bars:
- Preheat the oven to 350°F (175°C).
- In a bowl, combine graham cracker crumbs, sugar, and melted butter to form the crust. Press into the bottom of a greased baking dish.
- In another bowl, beat cream cheese, sugar, and vanilla until smooth. Add the eggs one at a time, mixing just until incorporated.
- Fold in the diced peaches and pour the cheesecake mixture over the crust.
- In a separate bowl, mix flour, cinnamon, brown sugar, and softened butter to create a crumble topping. Sprinkle over the cheesecake mixture.
- Bake for about 45-50 minutes, until the center is set.
- Allow to cool, then refrigerate before cutting into bars.
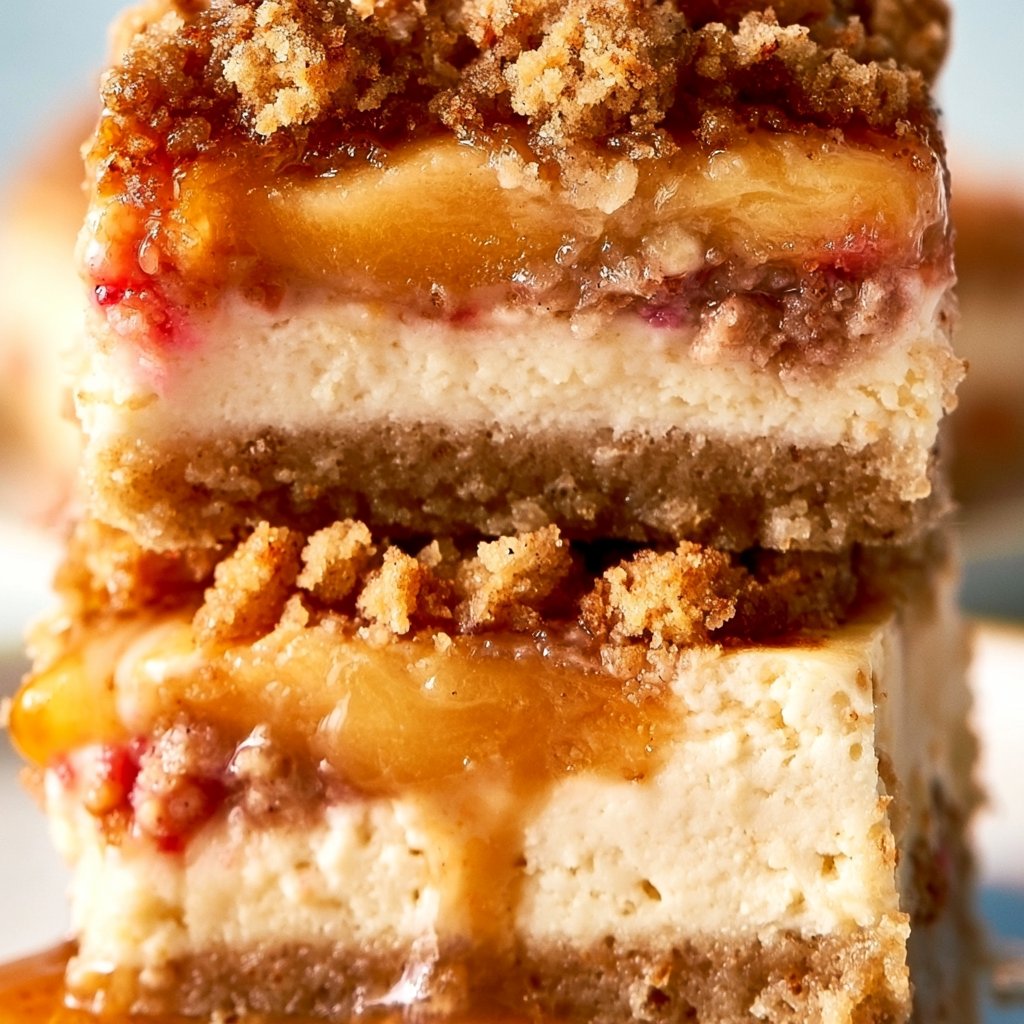
How to Make Peach Cheesecake Bars (Overview)
Let’s break it down: you’ll start with a buttery graham cracker crust that’s ready in a flash. Then, whip up the creamy cheesecake filling by beating the ingredients until smooth—easy as pie! Gently fold in those luscious peaches, and don’t forget to sprinkle that delicious crumble on top before sliding it into the oven. Pro tip: Let these beauties cool down properly. It really helps the flavors meld together. 😉
How to Serve Peach Cheesecake Bars
These decadent bars are a feast for the senses! Serve them chilled straight from the fridge for that creamy, smooth texture. Add a dollop of whipped cream or a scoop of vanilla ice cream for extra indulgence. Imagine that creamy texture combined with a refreshing peach aroma—it’s like summer on a plate! 🍑✨
How to Store Peach Cheesecake Bars
After you’ve enjoyed your fill, store any leftovers in the fridge. They’ll stay fresh for about 5-7 days. If you want to save them longer, feel free to freeze them for up to two months. Just make sure to wrap them tightly! To enjoy, simply thaw in the fridge overnight or warm them up slightly in the microwave.
Tips to Make Peach Cheesecake Bars
- Use Room Temperature Ingredients: This helps the cream cheese blend better for a smooth filling.
- Don’t Overbeat the Eggs: Just mix until incorporated; overbeating can lead to cracks in your cheesecake bars.
- Substitute Fruits: Apples or berries can give a delightful twist if you’re feeling adventurous!
- Add a Little Zing: A splash of lemon juice can brighten up the flavor.
- Optional Toppings: Consider drizzling with caramel sauce for that extra wow factor!
Variation
Want to mix it up? Try using nectarines instead of peaches for a different fruity explosion, or make a vegan version using cashew cream and coconut milk. The possibilities are endless, and the choice is yours!
FAQs
Can I use frozen peaches for this recipe?
Absolutely! Just thaw and drain them well before using to avoid excess moisture.
How can I make this ahead of time?
These bars get even better the next day! Make them a day in advance and let the flavors develop overnight.
Can I freeze these bars?
Yes, just wrap them in plastic and place them in an airtight container. Perfect for a later sweet craving!
📌 Pin this recipe for your next cozy dinner night!

Peach Cheesecake Bars
Ingredients
Method
- Preheat the oven to 350°F (175°C).
- In a bowl, combine graham cracker crumbs, sugar, and melted butter to form the crust. Press into the bottom of a greased baking dish.
- In another bowl, beat cream cheese, sugar, and vanilla until smooth. Add the eggs one at a time, mixing just until incorporated.
- Fold in the diced peaches and pour the cheesecake mixture over the crust.
- In a separate bowl, mix flour, cinnamon, brown sugar, and softened butter to create a crumble topping. Sprinkle over the cheesecake mixture.
- Bake for about 45-50 minutes, until the center is set.
- Allow to cool, then refrigerate before cutting into bars.