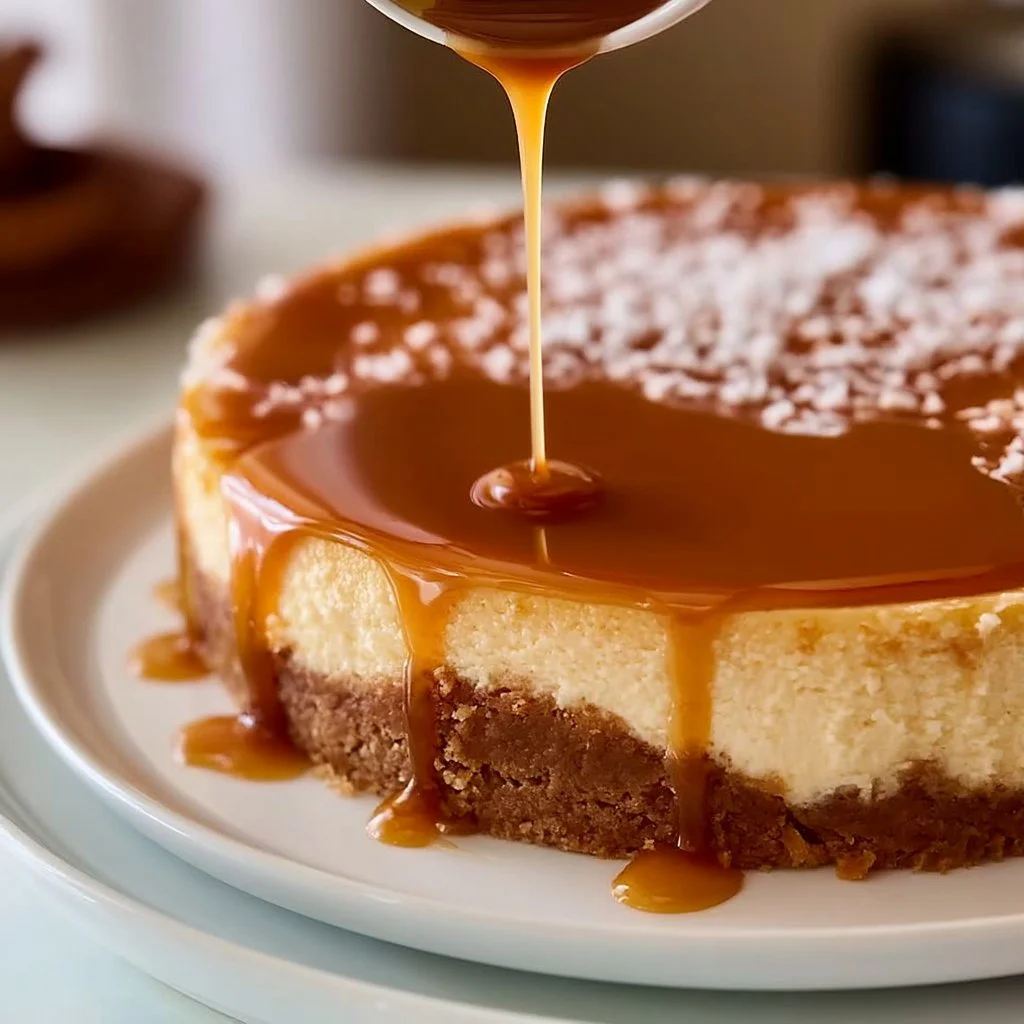
Salted Caramel Cheesecake
A Decadent Delight for Your Taste Buds
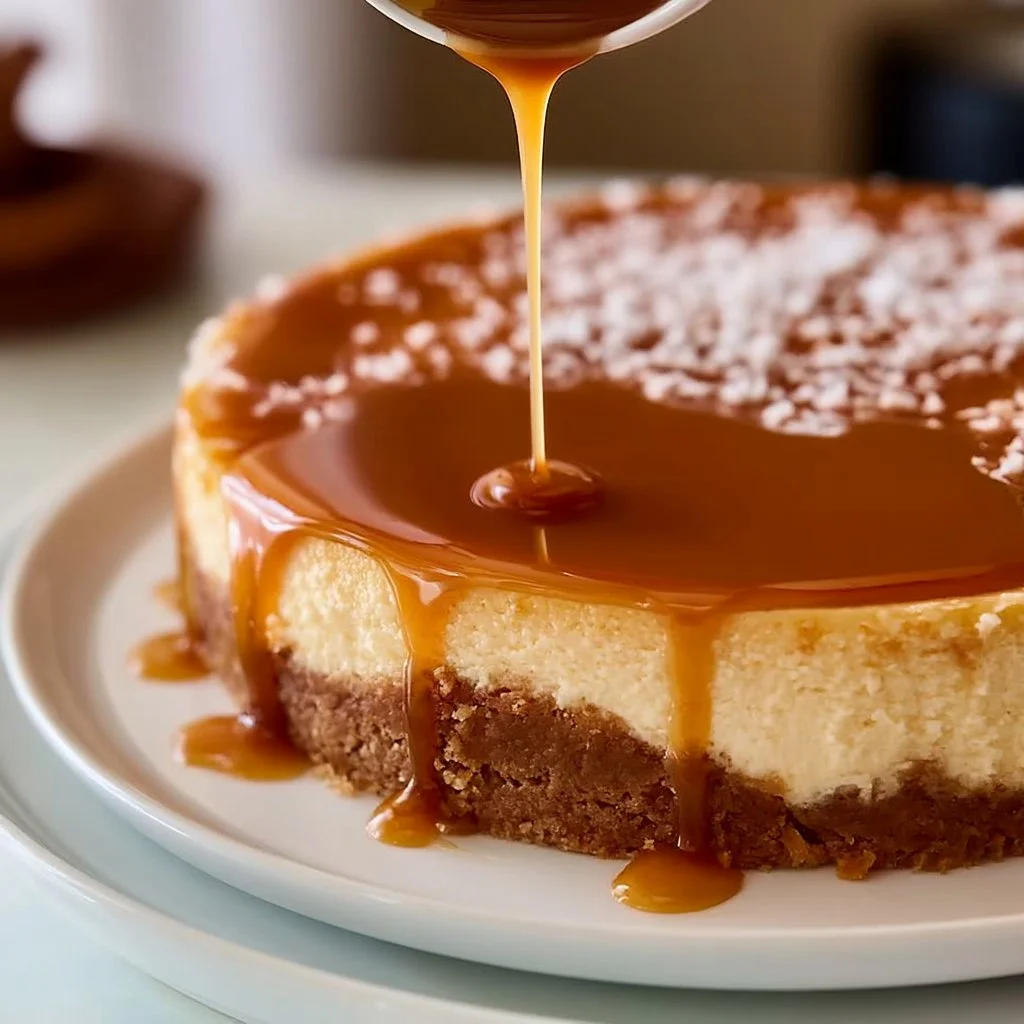
Imagine sinking your fork into a rich, creamy slice of cheesecake topped with luscious salted caramel that drips delightfully down the sides. 😍 This Salted Caramel Cheesecake is not just a dessert; it’s an experience. With its no-fuss preparation and melt-in-your-mouth texture, it’s bound to become your new favorite indulgence.
Why Make This Recipe
First of all, let’s talk about ease. You’re only a few simple steps away from an extravagant dessert that looks like you slaved over it for hours. Who doesn’t love the combination of sweet and salty? It’s like a party for your taste buds!
Plus, cleanup is a breeze. You’re whipping this up in one springform pan—no messy bowls cluttering your countertop. Perfect for those who don’t want to spend their evening scrubbing dishes, am I right? 😏
Ingredients
You don’t need fancy stuff — just these basics!
- Biscoff cookies (for the crust)
- Butter (for the crust)
- Cream cheese
- Granulated sugar
- Sour cream
- Vanilla extract
- Eggs
- Heavy cream (for caramel)
- Brown sugar (for caramel)
- Salt (for caramel)
Directions
- Preheat the oven to 325°F (160°C).
- Crush the Biscoff cookies and mix with melted butter to create the crust. Press into the bottom of a springform pan.
- In a bowl, beat the cream cheese and sugar until smooth. Add sour cream, vanilla, and eggs one at a time, mixing well after each addition.
- Pour the cheesecake mixture over the crust and bake for 50-60 minutes or until set.
- Let cool, then refrigerate for at least 4 hours.
- For the caramel, heat brown sugar and heavy cream in a saucepan until melted and smooth. Stir in salt to taste.
- Pour the salted caramel over the chilled cheesecake before serving.
How to Make Salted Caramel Cheesecake (Overview)
Once you’ve got your ingredients ready, you’re on a sweet path to success! Start by making that lovely crust with crushed Biscoff cookies (yum!). While your crust bakes, whip up that creamy cheesecake filling like a pro—mix it all in one bowl, and you’re golden! Bake, chill, and pour that gooey caramel on top. Simple as that!
Pro tip: Make sure to let the cheesecake cool completely before you refrigerate it. No one wants a warm cheesecake, trust me!
How to Serve Salted Caramel Cheesecake
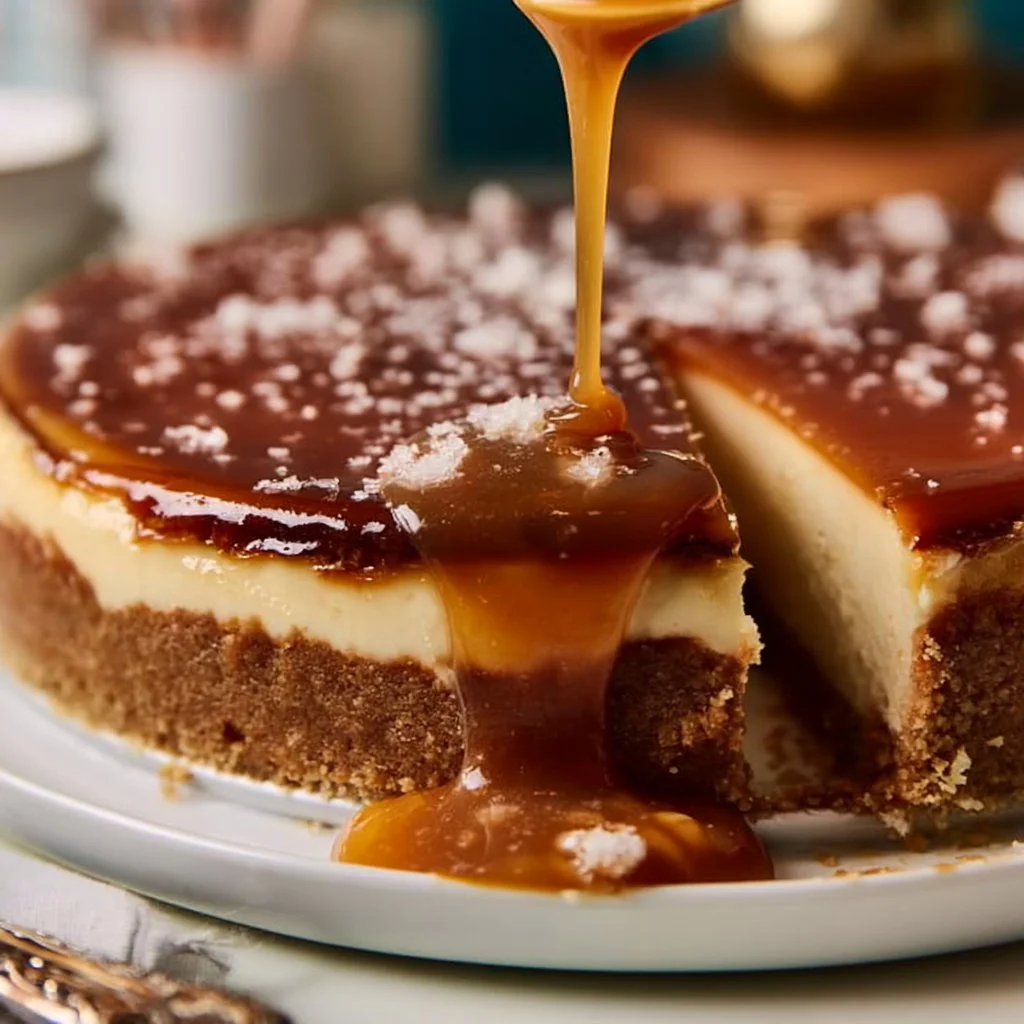
Think of all the possibilities! Serve it as a perfect ending to a cozy dinner with friends or family. For a little extra flair, add a sprinkle of sea salt on top for contrast. It’s all about that visual appeal. The golden caramel drizzled over the creamy filling is not just eye candy; it adds so much flavor!
Pair it with a cold scoop of vanilla ice cream or a drizzle of chocolate sauce for an extra touch. The combination of textures—smooth cheesecake, crunchy crust, and gooey caramel—will have everyone reaching for seconds!
How to Store Salted Caramel Cheesecake
This cheesecake is a keeper! You can store it in the fridge for about 3-5 days. Just make sure it’s well covered to avoid any fridge odors. If you’re feeling ambitious, you can even freeze it for a month. Just let it thaw in the fridge overnight before serving. Easy-peasy!
Tips to Make Salted Caramel Cheesecake
- Room Temperature Ingredients: Ensure your cream cheese and eggs are room temperature for a smoother mixture. Don’t skip this— it makes all the difference!
- Skip the Overbake: Keep an eye on your cheesecake. You want it set but not dry; a tiny jiggle in the center is perfect.
- Make the Caramel Ahead: You can whip up the salted caramel while your cheesecake is baking. Let it cool before pouring it on for a wonderfully spreadable topping!
Variation
Want to switch it up? Try adding a layer of chocolate ganache underneath the cheesecake filling for a chocolatey twist. You could also experiment with different flavored extracts—almond, anyone? Or for a vegan version, you could swap out dairy ingredients with cashew cream and coconut milk. The possibilities are endless!
FAQs
Can I use a different type of cookie for the crust?
Absolutely! Any cookie you love can work. Just make sure it can hold up after baking.
How do I make a no-bake version of this cheesecake?
You can skip baking and simply chill the cheesecake mixture in the fridge until set. Keep an eye on the consistency there!
Can I prepare this cheesecake the day before serving?
Yes! It’s actually the best way to enjoy it—letting it sit overnight allows all those fabulous flavors to meld together beautifully.
📌 Pin this recipe for your next cozy dinner night!
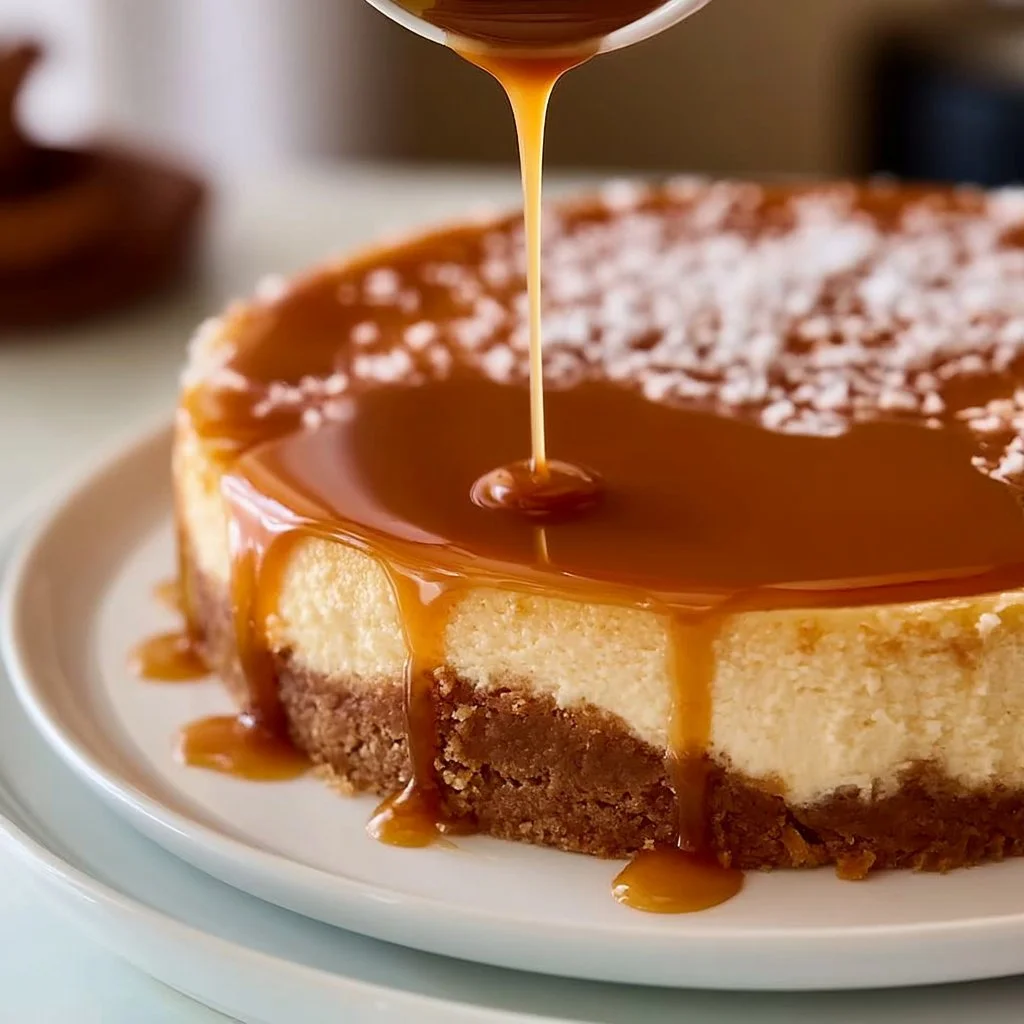
Salted Caramel Cheesecake
Ingredients
Method
- Preheat the oven to 325°F (160°C).
- Crush the Biscoff cookies and mix with melted butter to create the crust. Press into the bottom of a springform pan.
- In a bowl, beat the cream cheese and sugar until smooth. Add sour cream, vanilla, and eggs one at a time, mixing well after each addition.
- Pour the cheesecake mixture over the crust and bake for 50-60 minutes or until set.
- Let cool, then refrigerate for at least 4 hours.
- For the caramel, heat brown sugar and heavy cream in a saucepan until melted and smooth. Stir in salt to taste.
- Pour the salted caramel over the chilled cheesecake before serving.