Brownie Bottom Mini Cheesecakes
Discover a Sweet Symphony of Flavors
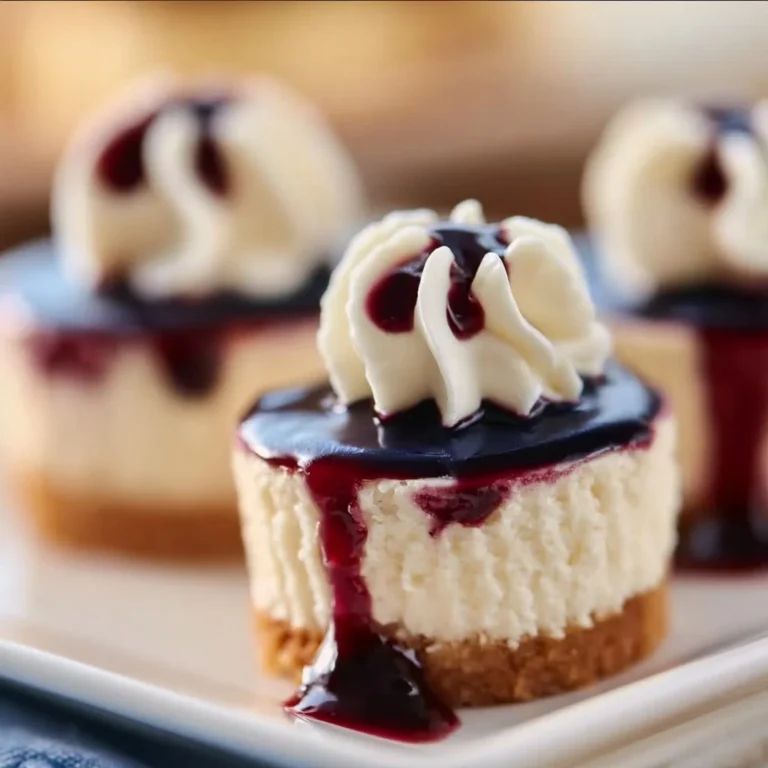
Ever tasted a dessert that hits all the right notes? These Brownie Bottom Mini Cheesecakes bring together the rich, fudgy goodness of brownies and the creamy delight of cheesecake in one adorable bite. Ideal for any gathering or just to satisfy those midnight cravings, they’re quick to whip up and sure to impress!

Why Make This Recipe
- Easy clean-up: You’ll only need one muffin tin and a couple of bowls. Who doesn’t love less dishwashing?
- Family-friendly: Kids and adults alike will gobble these up like there’s no tomorrow — because who can resist a brownie-cheesecake combo?
- Perfect for any occasion: Whether it’s a holiday gathering or a simple Tuesday night, these little gems fit right in.
Ingredients
You don’t need fancy stuff — just these basics!
- 1 cup of brownie mix
- 1/3 cup of vegetable oil
- 1 large egg
- 8 oz cream cheese, softened
- 1/2 cup sugar
- 1 tsp vanilla extract
- 2 large eggs
- 1/2 cup sour cream
- 1/2 cup chocolate chips
- 1/2 cup heavy cream
Directions
- Preheat your oven to 325°F (163°C). Line a muffin tin with cupcake liners.
- In a bowl, mix together brownie mix, vegetable oil, and one egg until well combined.
- Spoon the brownie mixture into the prepared muffin tin, filling each liner about halfway.
- Bake for about 10 minutes or until slightly set.
- In another bowl, beat together cream cheese, sugar, and vanilla until smooth.
- Add the eggs one at a time, mixing well after each addition, then fold in the sour cream.
- Pour the cheesecake mixture over the brownie layer in each liner.
- Bake for an additional 20-25 minutes, or until the centers are just set.
- Let cool completely, then chill in the refrigerator for at least 2 hours.
- For the ganache, heat heavy cream in a small saucepan, then pour over chocolate chips in a bowl. Stir until smooth.
- Drizzle ganache over the cheesecakes before serving. Enjoy your bite-sized treats!

How to Make Brownie Bottom Mini Cheesecakes (Overview)
Making these mini cheesecakes is a breeze! Start with your brownie base; just mix, scoop, and bake for a quick 10 minutes. While that’s in the oven, whip up the creamy cheesecake filling. Once your brownie bases are ready, pour the filling on top and give them a good bake. Don’t forget to chill them — that’s what transforms these from good to absolutely heavenly! Pro tip: trust the process; the chilling makes them go from soft to perfectly set.
How to Serve Brownie Bottom Mini Cheesecakes
Present your mini cheesecakes on a vibrant platter for an appealing pop of color! Try garnishing with fresh berries or a sprig of mint for a splash of freshness. They’re rich, creamy, and utterly delightful as dessert bites — your guests will love the flavor explosion as they sink their teeth into these adorable treats. 😍
How to Store Brownie Bottom Mini Cheesecakes
These delectable mini cheesecakes keep well in the fridge for about 5 days. Just pop them in an airtight container to maintain their freshness. Want to enjoy them longer? Freeze for up to 3 months, and simply thaw in the fridge overnight when you’re ready to indulge again!
Tips to Make Brownie Bottom Mini Cheesecakes
- Use room temperature cream cheese: It blends better, giving you a smoother, creamier texture.
- Don’t overbake: Keep an eye on them; they should be set but a little jiggly in the center.
- Switch it up: Add a hint of peppermint or caramel to the cheesecake mix for an enticing twist!
Variation
Feeling adventurous? Swap out the chocolate chips for peanut butter chips or white chocolate. For a vegan version, use plant-based cream cheese and egg substitutes. The options are endless!
FAQs
Can I use store-bought brownie mix?
Absolutely! Store-bought mix is a great time-saver.
Can I make these ahead of time?
Yes! You can bake them a day or two in advance and chill them until you’re ready to serve.
How do I prevent cracked cheesecake tops?
Make sure not to over-mix and keep your baking temperature steady. A little love goes a long way!
📌 Pin this recipe for your next cozy dinner night!
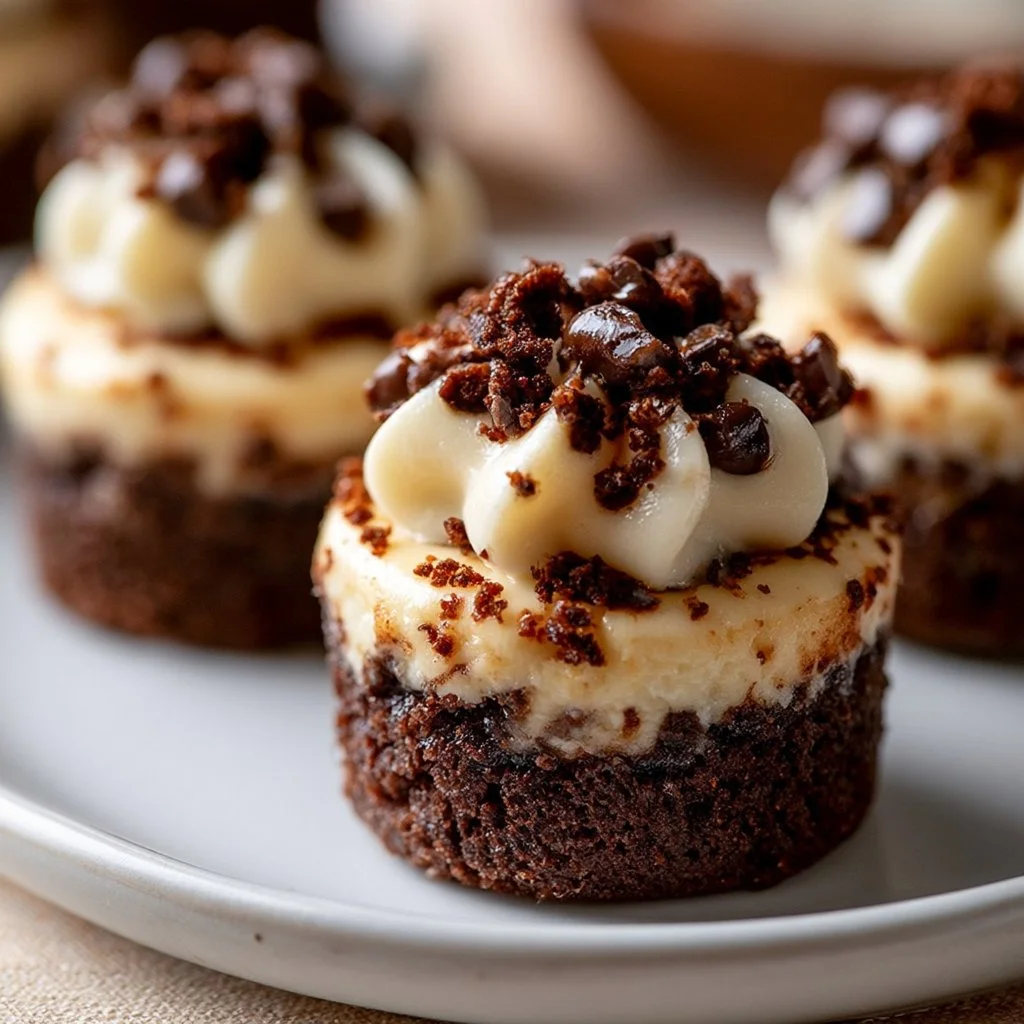
Brownie Bottom Mini Cheesecakes
Ingredients
Method
- Preheat your oven to 325°F (163°C). Line a muffin tin with cupcake liners.
- In a bowl, mix together brownie mix, vegetable oil, and one egg until well combined.
- Spoon the brownie mixture into the prepared muffin tin, filling each liner about halfway.
- Bake for about 10 minutes or until slightly set.
- In another bowl, beat together cream cheese, sugar, and vanilla until smooth.
- Add the eggs one at a time, mixing well after each addition, then fold in the sour cream.
- Pour the cheesecake mixture over the brownie layer in each liner.
- Bake for an additional 20-25 minutes, or until the centers are just set.
- Let cool completely, then chill in the refrigerator for at least 2 hours.
- For the ganache, heat heavy cream in a small saucepan, then pour over chocolate chips in a bowl. Stir until smooth.
- Drizzle ganache over the cheesecakes before serving.