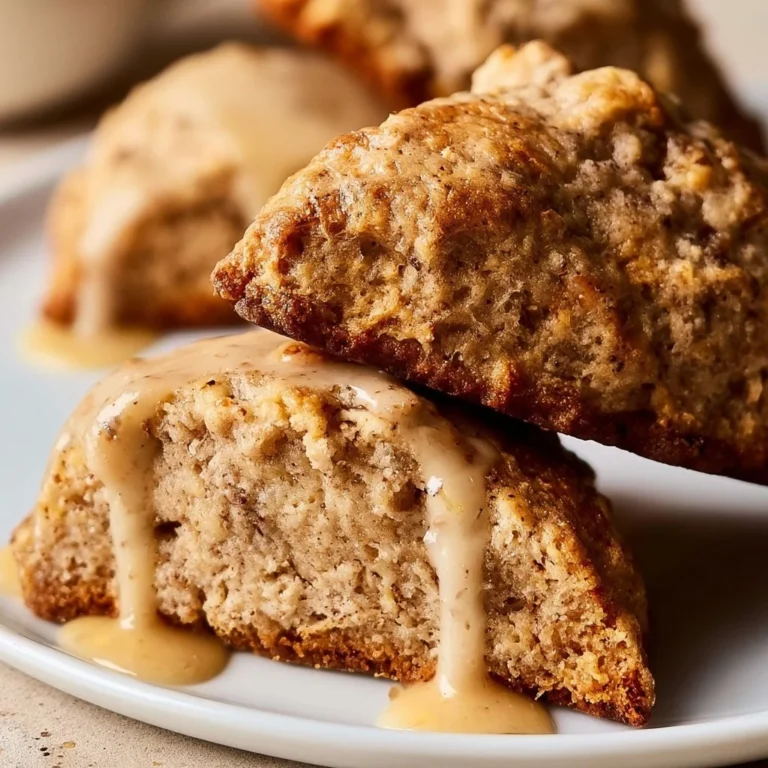
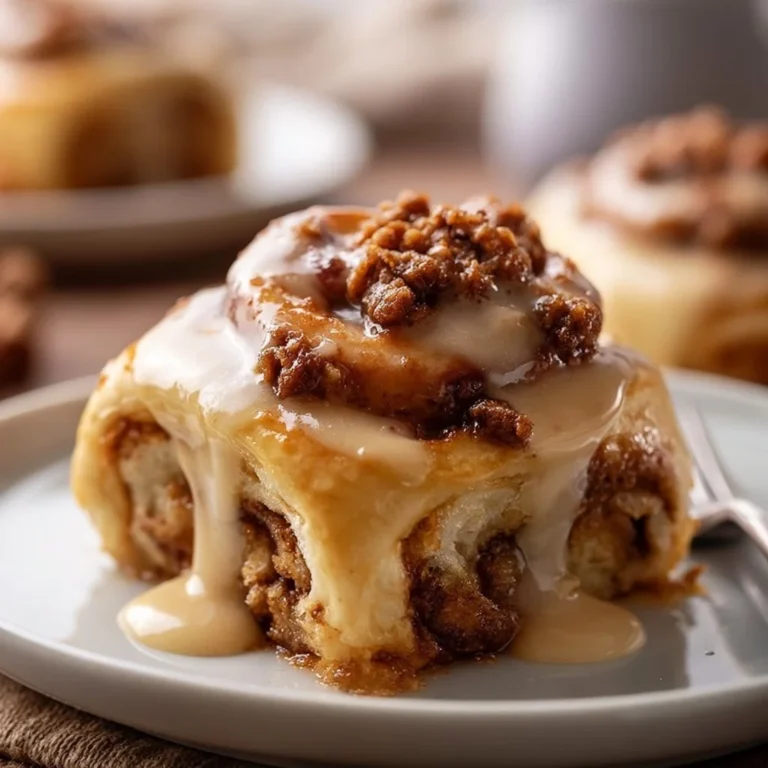
Gluten-Free Danish
Ever dreamt of a flaky, buttery pastry that won’t interrupt your gluten-free lifestyle?
These Gluten-Free Danish pastries deliver all the joy of those beloved treats without the gluten guilt. They’re quick to whip up and packed with flavor, making them a perfect companion for morning coffee or an afternoon snack. Plus, they’re oh-so-easy — you’ll be wondering why you waited so long to try them!

Why make this recipe
Why not? This homemade delight offers a few irresistible perks:
- Easy Cleanup: Fewer dishes mean more time to enjoy your Danish and sip that coffee.
- Family-Friendly: Everyone will love them, gluten-free or not. Trust me, no one will be asking about the gluten.
- Perfect Anytime: Breakfast, dessert, or a snack — these pastries fit right into your day, leaving you happy and satisfied (no guilt involved!).
Ingredients
You don’t need fancy stuff — just these basics! Grab:
- 2 cups gluten-free all-purpose flour
- 1/4 cup almond flour
- 1/4 cup coconut flour
- 1/2 cup unsalted butter (or dairy-free substitute)
- 1/4 cup sugar
- 1/4 cup milk (or dairy-free milk)
- 2 large eggs
- 1 teaspoon vanilla extract
- 1 tablespoon baking powder
- 1/2 teaspoon salt
Directions
Ready to get baking? Follow these simple steps to gluten-free perfection:
- Preheat your oven to 350°F (175°C).
- In a mixing bowl, combine the gluten-free flour, almond flour, coconut flour, sugar, baking powder, and salt.
- In another bowl, beat the eggs, then add melted butter and milk, mixing well.
- Pour the wet ingredients into the dry ingredients and mix until a dough forms.
- Roll out the dough on a floured surface and shape as desired.
- Place on a baking sheet and bake for 20-25 minutes until golden brown.
- Allow to cool slightly before serving.

How to make Gluten-Free Danish (Overview)
Making these pastries is as easy as pie… or should I say “Danish”? 😉 Just blend your dry ingredients, mix in the wet ones, and roll out that dough.
Pro tip: Don’t skip letting them cool slightly! The textures blend, and the flavors deepen, and you get that just-right experience.
How to serve Gluten-Free Danish
These golden beauties shine on their own, but why not amp them up?
- Dust with powdered sugar for that elegant touch.
- Add a dollop of jams or preserves for a flavor explosion.
- Pair with a steaming cup of coffee or herbal tea — the aromatic combo is simply divine!
How to store Gluten-Free Danish
A little storage tip: these beauties last up to 3-5 days in the fridge. Want them to last longer? Freeze them! Just pop them in an airtight container, and they’ll stay good for up to 3 months.
Reheating is easy — a quick warm-up in the oven or microwave brings back their original goodness!
Tips to make Gluten-Free Danish
- Be as precise as possible with measurements; gluten-free flours can be finicky.
- Melt the butter and let it cool before mixing in the wet ingredients — nobody wants scrambled eggs in their Danish!
- Experiment with different fillings: fruits or cream cheese can spark new flavors.
- For a crunch factor, sprinkle some nuts on top before baking.
- Don’t forget to check for doneness; ovens can vary significantly!
Variation
Feeling a bit adventurous? Try adding flavors like almond extract instead of vanilla or toss in some chocolate chips or cinnamon for a delicious twist. Want to keep it vegan? Substitute eggs with flax eggs and use a plant-based butter and milk. Easy peasy!
FAQs
Can I use regular flour instead of gluten-free flour?
Yes, but that would defeat the purpose of this delightful gluten-free recipe!
How can I make these ahead of time?
You can prepare the dough and refrigerate it overnight or even freeze it before shaping.
Can I freeze the baked Danish?
Absolutely! Once they cool, just store them in an airtight container. Just reheat before serving to enjoy that warm, flaky goodness!
📌 Pin this recipe for your next cozy dinner night!

Gluten-Free Danish Pastries
Ingredients
Method
- Preheat your oven to 350°F (175°C).
- In a mixing bowl, combine the gluten-free flour, almond flour, coconut flour, sugar, baking powder, and salt.
- In another bowl, beat the eggs, then add melted butter and milk, mixing well.
- Pour the wet ingredients into the dry ingredients and mix until a dough forms.
- Roll out the dough on a floured surface and shape as desired.
- Place on a baking sheet and bake for 20-25 minutes until golden brown.
- Allow to cool slightly before serving.