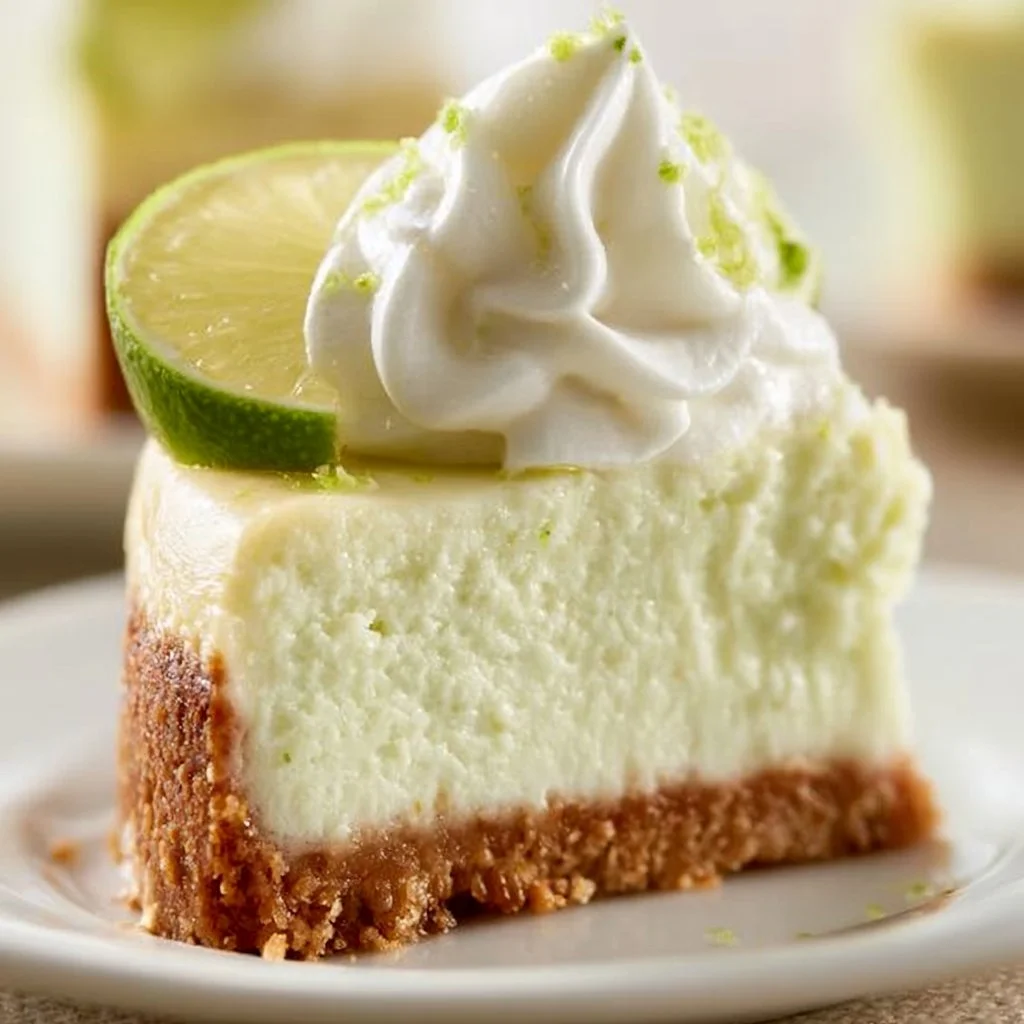
Key Lime Cheesecake
You’ll Wish You Had This Key Lime Cheesecake All the Time!
Imagine a creamy, zesty cheesecake that strikes the perfect balance between sweet and tart, leaving your taste buds dancing with joy. This Key Lime Cheesecake isn’t just any dessert; it’s the kind that makes you feel like you’re on a tropical vacation with just one bite. And the best part? It’s super easy to whip up, making it an instant favorite for your gatherings or just a casual weeknight treat. 🍰
Why Make This Recipe
Let’s be real—who doesn’t love an impressive dessert that’s easy to make? Here are a few reasons why this Key Lime Cheesecake should be on your must-try list:
- Minimal Cleanup: One pan, one bowl—it doesn’t get better than that! You can conquer it without turning your kitchen into a war zone.
- Family-Friendly: Both kids and adults will love it. You might even find yourself getting some extra hugs for serving this delightful treat.
- Affordable Ingredients: You don’t need to break the bank to enjoy a decadent dessert.
Ingredients:
You don’t need fancy stuff — just these basics!
- 1 1/2 cups graham cracker crumbs
- 1/2 cup unsalted butter, melted
- 1/4 cup sugar
- 4 (8 ounce) packages cream cheese, softened
- 1 cup sugar
- 1/4 cup all-purpose flour
- 1/2 teaspoon vanilla extract
- 1/2 cup key lime juice
- 4 large eggs
Directions:
Time to bake this beauty! Follow these simple steps:
- Preheat your oven to 325°F (163°C).
- In a bowl, combine the graham cracker crumbs, melted butter, and 1/4 cup sugar. Press this mixture into the bottom of a 9-inch springform pan to form a crust.
- In a large mixing bowl, beat the cream cheese until smooth. Gradually add 1 cup sugar, then the flour, beating until well combined.
- Stir in the vanilla extract and key lime juice.
- Add the eggs one at a time, mixing on low speed until just combined. Do not overmix.
- Pour the cream cheese mixture into the prepared crust.
- Bake for about 55-60 minutes, or until the center is set but slightly jiggly.
- Turn off the oven and leave the cheesecake inside for 1 hour.
- Remove from the oven and cool to room temperature.
- Refrigerate for at least 4 hours or overnight before serving.
How to Make Key Lime Cheesecake (Overview)
Making this cheesecake is a breeze! Start by preparing the crust—that’s your foundation. While it bakes, blend the cream cheese, sugar, and key lime juice until it’s a dreamy mixture. Then, pour it into the cooled crust and let the magic happen in the oven. Pro tip: Don’t rush the cooling time; it’s crucial for achieving that perfect cheesecake consistency.
How to Serve Key Lime Cheesecake
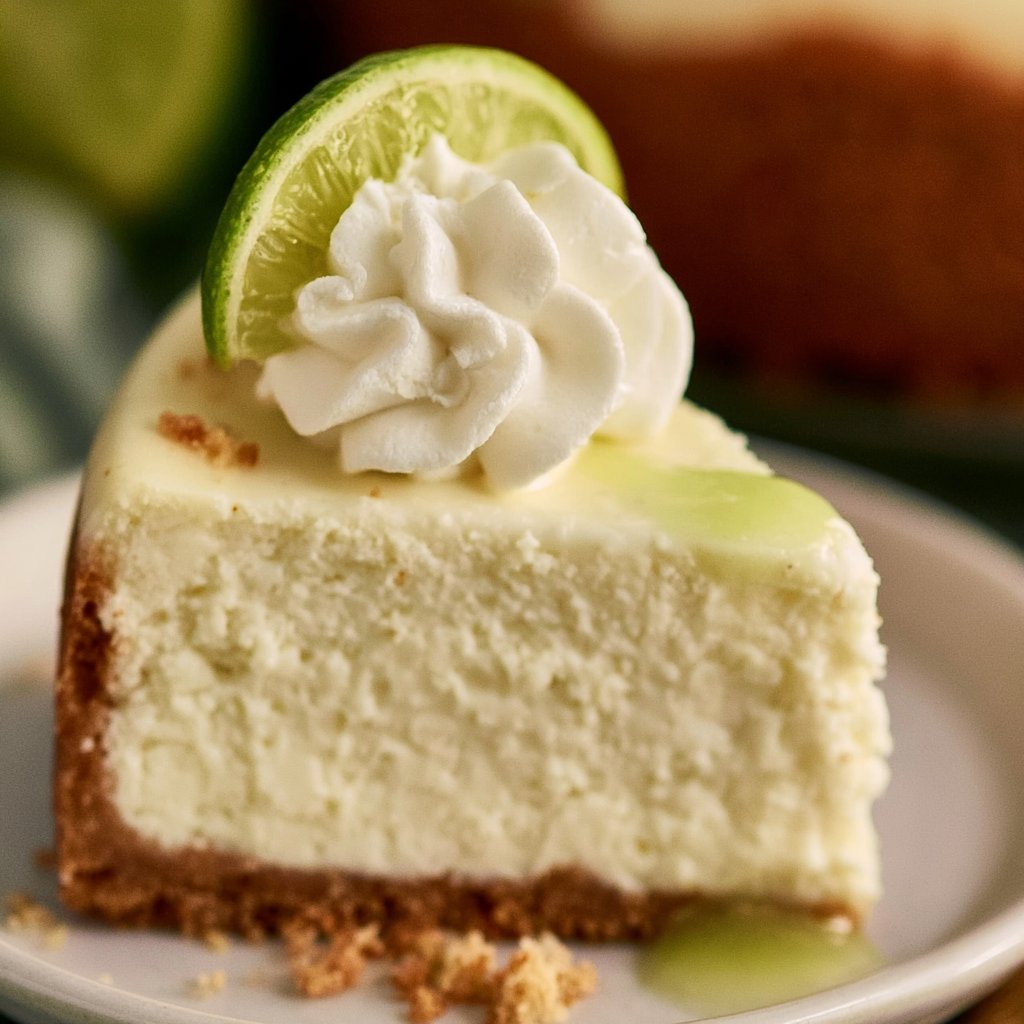
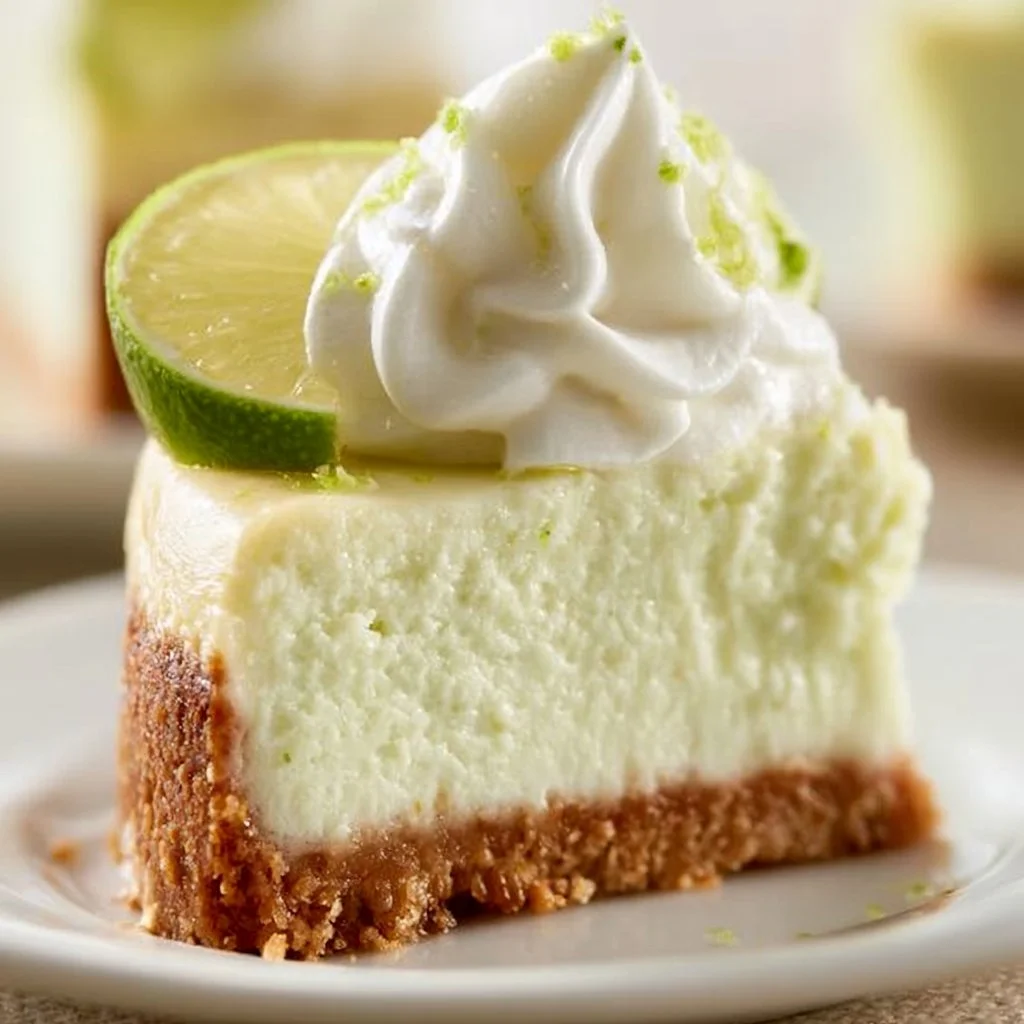
Get creative! You can serve it plain, or add a dollop of freshly whipped cream for that extra flair. Garnish with lime slices or zest for a pop of color and freshness. Imagine the bright green against the creamy white, making it as delightful to see as it is to taste. The aroma will make your guests swoon, for sure!
How to Store Key Lime Cheesecake
If you somehow have leftovers (but let’s be honest, you probably won’t!), store your cheesecake in the fridge for up to 5 days. You can also freeze it for longer storage—just wrap it tightly in plastic wrap and then aluminum foil. To enjoy later, let it thaw in the refrigerator overnight before serving.
Tips to Make Key Lime Cheesecake
- Perfect texture? Make sure your cream cheese is softened. No one wants a lumpy cheesecake!
- Swap regular lime juice for freshly squeezed key lime juice if you want to bring out the flavor.
- If you want to jazz it up, consider adding a bit of lime zest into the filling for an additional zing.
Variation
Feeling adventurous? Try infusing some coconut for a tropical twist, or layer in some fresh berries on top before serving. You can also make it vegan by swapping cream cheese with a plant-based alternative and eggs for a flaxseed mixture.
FAQs
1. Can I make this cheesecake ahead of time?
Absolutely! It’s perfect for making a day or two in advance. Just store it in the fridge!
2. What if I can’t find key limes?
No worries! Regular limes work just as well in a pinch.
3. Can I freeze my cheesecake?
Yes, you can. Just be sure to wrap it tightly, and allow it to thaw in the fridge before serving.
📌 Pin this recipe for your next cozy dinner night!
Key Lime Cheesecake
Ingredients
Method
- Preheat your oven to 325°F (163°C).
- In a bowl, combine the graham cracker crumbs, melted butter, and 1/4 cup sugar. Press this mixture into the bottom of a 9-inch springform pan to form a crust.
- In a large mixing bowl, beat the cream cheese until smooth. Gradually add 1 cup sugar, then the flour, beating until well combined.
- Stir in the vanilla extract and key lime juice.
- Add the eggs one at a time, mixing on low speed until just combined. Do not overmix.
- Pour the cream cheese mixture into the prepared crust.
- Bake for about 55-60 minutes, or until the center is set but slightly jiggly.
- Turn off the oven and leave the cheesecake inside for 1 hour.
- Remove from the oven and cool to room temperature.
- Refrigerate for at least 4 hours or overnight before serving.