No-Bake Key Lime Cheesecake
Get Ready for the Ultimate Dessert Experience
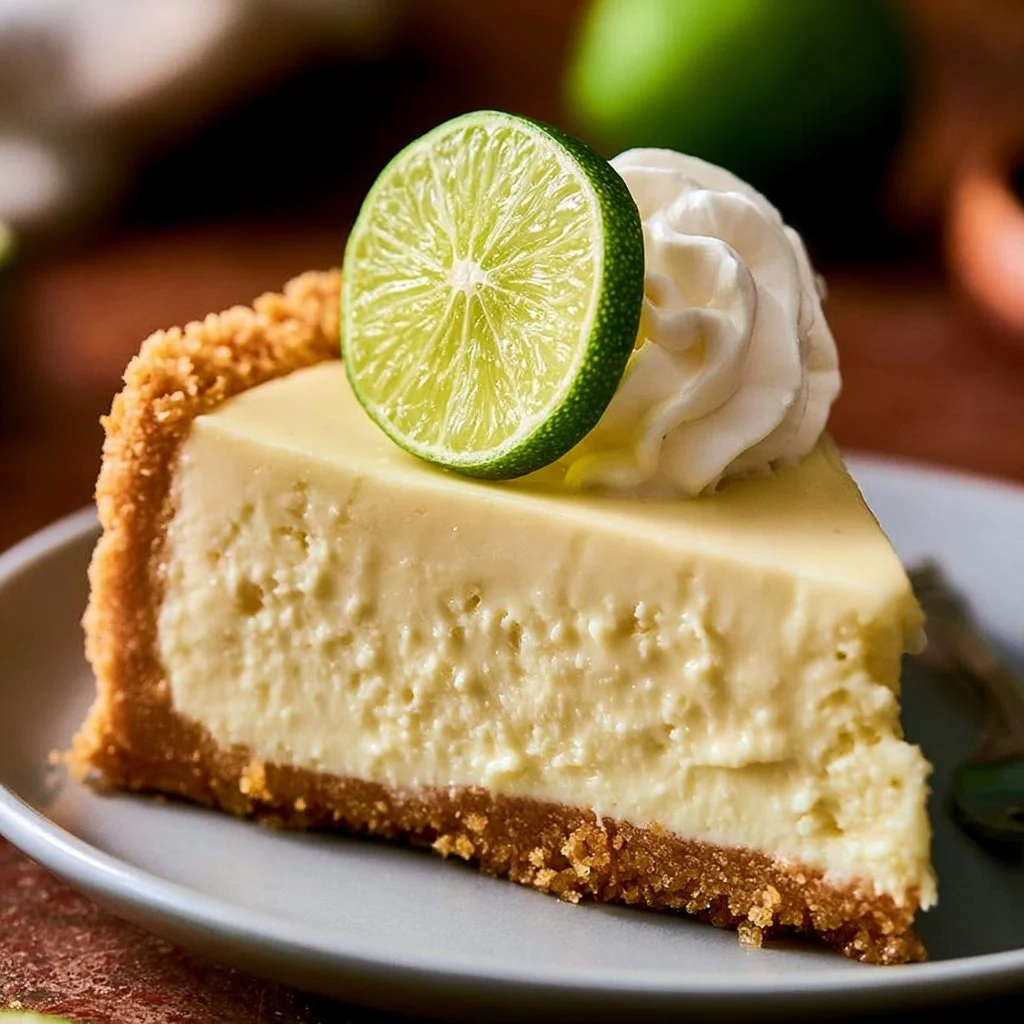
Picture this: creamy, tangy goodness melting in your mouth with every bite. Sounds tempting, right? Enter the world of No-Bake Key Lime Cheesecake. This delightful dessert is quick, easy, and incredibly delicious, making it the star of any gathering. Perfect for those hot summer days when baking feels like a crime, this no-bake wonder gives you maximum flavor with minimal effort. Trust me, your taste buds will thank you! 😊
Why Make This Recipe
You might be wondering why you should whip up this cheesecake. Well, here are a few reasons to get you convinced:
- Easy cleanup: No baking means less mess. Who doesn’t want that?
- Family-friendly: Kids and adults alike will devour this refreshing treat.
- No prior baking skills required: Seriously, if you can mix ingredients, you’re already halfway there!
Plus, it’s a perfect dessert to impress your friends without breaking a sweat. 🙌
Ingredients
You don’t need fancy stuff — just these basics!
- 1 1/2 cups graham cracker crumbs
- 1/2 cup unsalted butter, melted
- 1/4 cup sugar
- 2 cups cream cheese, softened
- 1 cup sweetened condensed milk
- 1/2 cup key lime juice
- 1 teaspoon vanilla extract
- Whipped cream for topping
- Lime slices for garnish
Directions
Let’s get down to business! Follow these easy steps:
- In a bowl, mix the graham cracker crumbs, melted butter, and sugar until everything’s well combined. Press this mixture firmly into the bottom of a 9-inch pie dish to form the crust.
- In a separate bowl, beat the cream cheese until smooth. Add the sweetened condensed milk, key lime juice, and vanilla extract; mix until well combined and creamy.
- Pour the cheesecake filling over the crust and spread it evenly.
- Refrigerate for at least 4 hours or until set. Patience is key here!
- Before serving, top with whipped cream and garnish with lime slices.
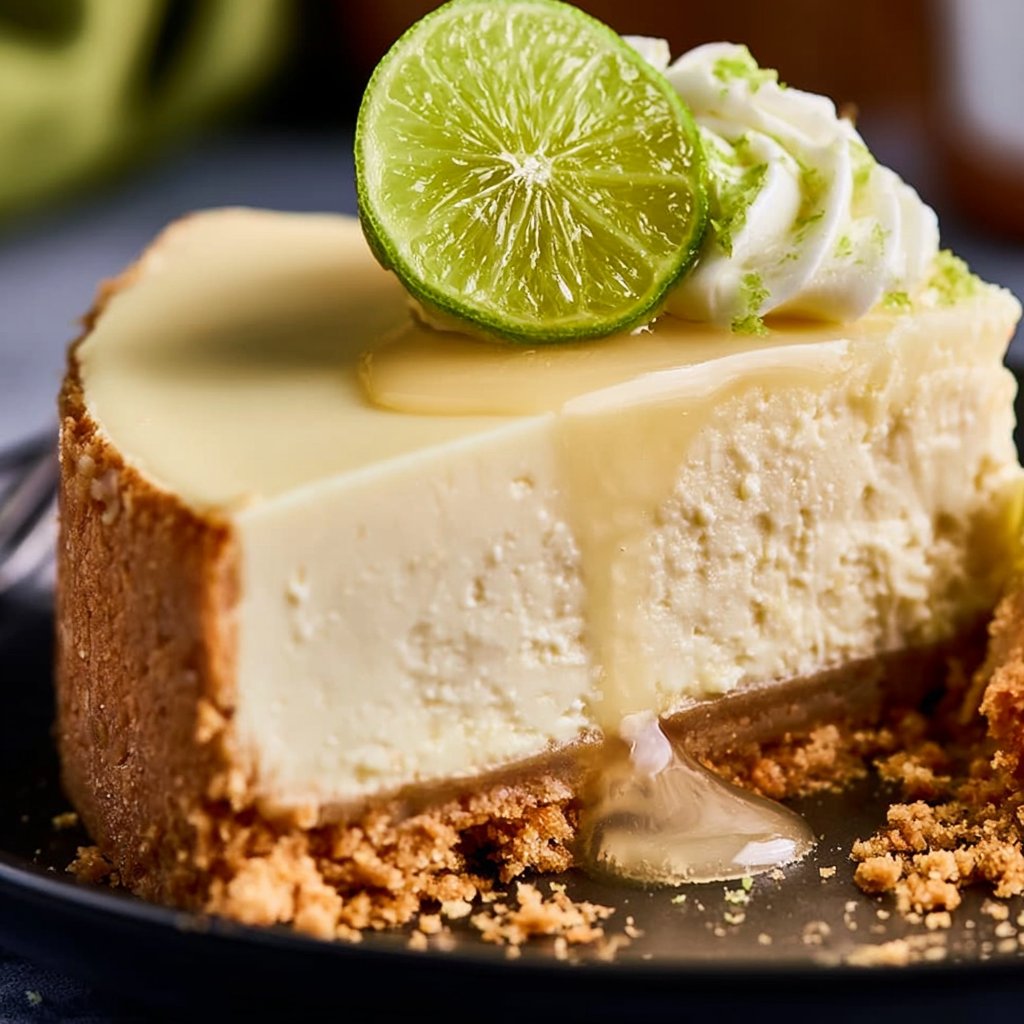
How to Make No-Bake Key Lime Cheesecake (Overview)
Making this cheesecake is super simple! Start by preparing your crust—no need for any complex steps here. While it chills, blend the creamy filling until it’s smooth and heavenly. Once it’s time to assemble, you just layer everything, refrigerate, and voila! It’s ready in no time.
Pro tip: Make sure your cream cheese is at room temperature to avoid lumps. It makes all the difference!
How to Serve No-Bake Key Lime Cheesecake
Serving this cheesecake is where the fun really kicks in. You can add a playful touch by:
- Sprinkling some lime zest on top for an extra pop of color.
- Placing fresh mint leaves beside the whipped cream for a fragrant upgrade.
- Pairing it with a cup of iced tea or a refreshing margarita for the ultimate summer vibe.
Each slice will shine bright like a summer sunbeam with its brilliant color and irresistible aroma. 🍋
How to Store No-Bake Key Lime Cheesecake
Got leftovers? Lucky you! This cheesecake keeps well in the fridge for about 5 days. Just cover it tightly to preserve that creamy texture. If you want to make it ahead, it freezes beautifully! Just wrap slices in plastic wrap before placing them in an airtight container — they’ll stay fresh for up to 3 months.
Tips to Make No-Bake Key Lime Cheesecake
Want to up your cheesecake game? Here are some quick insider tricks:
- Chill your bowl: If you chill your mixing bowl and beaters before whipping your cream cheese, you’ll get a lighter texture.
- Key lime juice: Fresh is best! If you can find fresh key limes, do it! It elevates the flavor immensely.
- Experiment with flavors: Add a touch of coconut extract for a tropical twist or throw in some zest from regular limes.
Variation
Feel like mixing things up? Here are a few ideas:
- Make it vegan: Swap the cream cheese for a plant-based alternative and use coconut milk instead of sweetened condensed milk.
- Flavored twists: Try adding crushed berries for a fruity variation, like strawberry or raspberry lime cheesecake.
FAQs
Can I use regular limes instead of key limes?
Absolutely! Just note that the flavor will be slightly different, but still delicious.Can I make this ahead of time?
Yes! You can make it 1-2 days in advance. Just keep it covered in the fridge.Can I freeze it?
Yes, it freezes quite well! Just be sure to store it properly to avoid freezer burn.
📌 Pin this recipe for your next cozy dinner night!
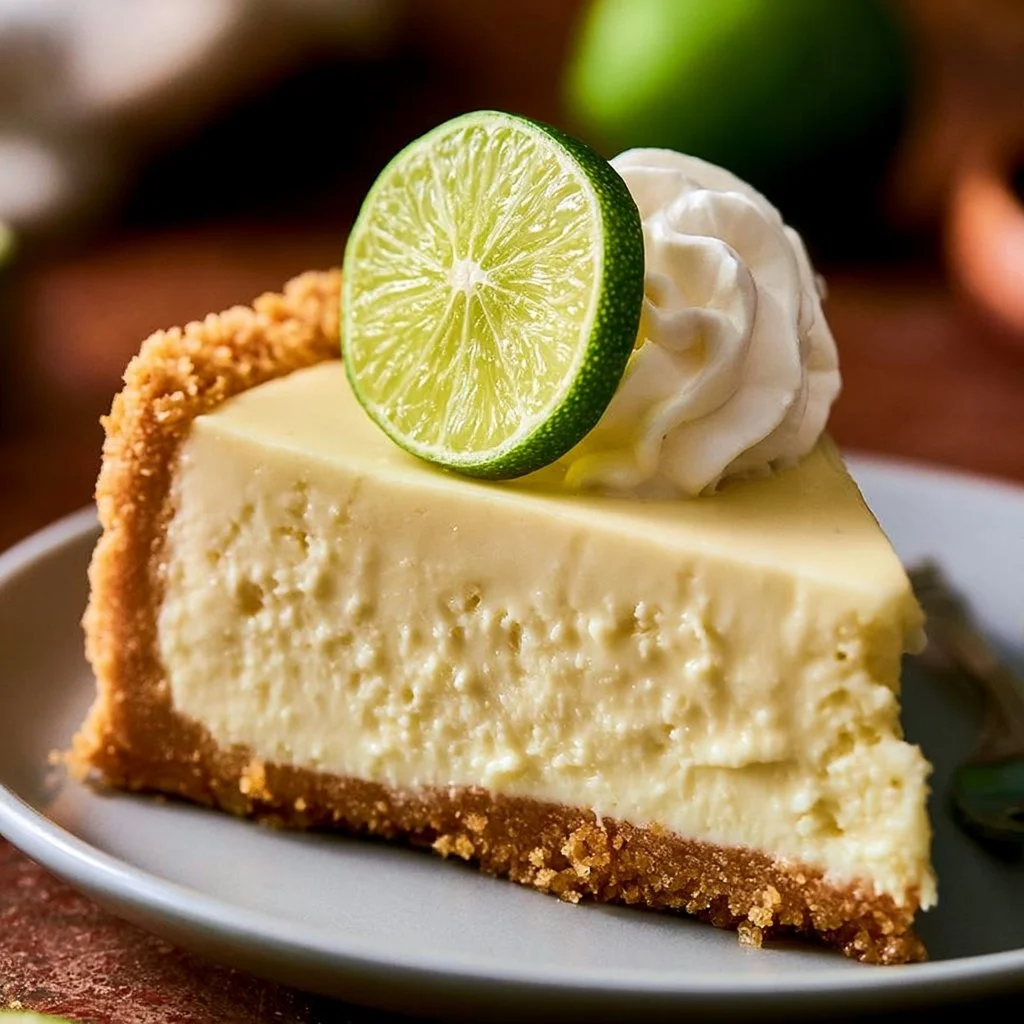
No-Bake Key Lime Cheesecake
Ingredients
Method
- In a bowl, mix the graham cracker crumbs, melted butter, and sugar until well combined. Press this mixture firmly into the bottom of a 9-inch pie dish to form the crust.
- In a separate bowl, beat the cream cheese until smooth. Add the sweetened condensed milk, key lime juice, and vanilla extract; mix until well combined and creamy.
- Pour the cheesecake filling over the crust and spread it evenly.
- Refrigerate for at least 4 hours or until set.
- Before serving, top with whipped cream and garnish with lime slices.